
Implement a photo-compositing "see it in your room" widget rather than an AR or 3D tool if you want the fastest route to shopper confidence. Shoppers upload a room photo, your product image gets composited into it, and the preview appears in about 30 seconds without any app download. Run a free trial across 500 previews on one representative product page first. Expect quicker setup, more shoppers actually trying the feature, and fewer size-related returns than AR alternatives typically deliver.
TL;DR:
- Photo compositing requires only high-resolution product images with transparent backgrounds and can generate previews in under 30 seconds.
- Placement should be near the main gallery with clear labels like "See it in your room" to maximize visibility and user understanding.
- Accessibility standards require text alternatives, keyboard operability, and proper contrast to ensure inclusivity for all shoppers.
- Tracking preview engagement, conversion rates, and return rates over multiple sales cycles helps evaluate the widget's actual impact.
- The approach is most cost-effective for standard furniture ranges, while high-ticket or customizable items still benefit from 3D or AR capabilities.
Table of Contents
- What is a photo-compositing widget and why beat AR/3D for furniture?
- Technical checklist for implement visualization widget projects
- Where should the widget sit on the product page?
- Does the widget need to meet WCAG 2.2?
- How do you measure whether the widget is working?
- How do you actually wire the widget into your storefront?
- What actually decides whether this pays off?
- Start a risk-free trial with AI Furniture Solutions
- Sources
- FAQ
What is a photo-compositing widget and why beat AR/3D for furniture?
A photo-compositing widget works on a simple exchange: the shopper uploads a photo of their own room, and the retailer's product image gets layered into that photo, either in the browser or on a server, to produce a realistic composite. No app, no camera permissions, no 3D file to generate or maintain. This is a meaningfully different technique from AR "view in room" tools, which project a 3D model into a live camera feed and typically require a native app or WebXR support.
The business case is straightforward. Photo compositing reuses the JPEGs you already have on your product pages, so there's no 3D modelling budget or lead time. That lowers the barrier for shoppers, too: Baymard's furniture testing found 87% of participants skipped AR features entirely when they encountered them without prompting, largely because AR reads as fiddly and unfamiliar. A plain photo upload doesn't carry that baggage.
That doesn't make 3D or AR obsolete everywhere. Configurable pieces, custom sectional builds, or 360-degree spin views for high-ticket items still benefit from a proper 3D asset, because shoppers there are choosing finishes and dimensions, not just checking whether a sofa clashes with their rug.
- Lower technical overhead: works from existing product photography
- No install friction: shoppers act on a link, not an app store detour
- Faster typical build time than commissioning 3D models per SKU
- Better fit for standard, off-the-shelf furniture ranges
Technical checklist for implement visualization widget projects
Getting a room preview widget live reliably comes down to five categories of work: integration, assets, upload handling, privacy, and a controlled trial. Skipping any one of these tends to surface as a support ticket later, so it's worth treating this as a sequence rather than a wish list.
- Pick your integration path. Shopify stores typically use an app-based install; Magento, BigCommerce and WooCommerce generally take a module or plugin; custom storefronts use an embed script dropped into the product template.
- Prepare product assets. You'll need high-resolution photos, ideally with alpha-masked cutouts so the compositing engine can place the product cleanly against any background, plus accurate dimension metadata attached to each SKU.
- Set uploader rules. Accept JPEG and PNG, cap file size (commonly 8 to 15MB), enforce a minimum resolution so previews don't look blocky, and compress client-side before upload to keep load times sensible.
- Target a preview generation time under 30 seconds. Anything slower and shoppers abandon before seeing the result, which defeats the purpose of the whole feature.
- Handle privacy properly. Get explicit consent before storing an uploaded room photo, publish a retention window, let shoppers request deletion, and check how the upload flow interacts with your cookie consent banner under GDPR.
- Scope your trial narrowly. Wire the 500 free previews to a single hero product or a small pilot collection rather than your whole catalogue, so you can watch behaviour without exposing every SKU at once.
Pro Tip: Pick a pilot product that already sells reasonably well but has a visible return rate tied to "didn't suit the room" feedback. That gives you a clean before-and-after signal instead of guessing whether the widget moved the needle.
Where should the widget sit on the product page?
Placement decides whether shoppers notice the feature at all. Put it inside or directly beside the main image gallery, close to the thumbnails, so it reads as part of looking at the product rather than a separate add-on buried below the fold. It needs to work identically on mobile, where most furniture browsing now happens, not just as a desktop afterthought.
Wording matters more than the icon. Baymard's research and separate NN/G guidance on AR shopping features both point the same direction: label the feature in plain terms like "See it in your room" or "Preview in your space" rather than "AR" or "Virtual Try-On". Icons alone are unreliable at communicating what the tool does, so pair the icon with text every time.
Microcopy carries weight too. A short line explaining what happens ("Upload a photo, see this sofa in your space in seconds") sets expectations before the shopper commits to uploading anything, and a brief privacy note next to the upload button reduces hesitation.
- Place the entry point next to the main gallery, not in a footer or accordion
- Use text labels, never icon-only triggers
- Add one line on timing and one on privacy near the upload button
- Show the composited preview next to real customer photos where you have them
Pairing the generated preview with genuine customer-submitted photos and dimension diagrams builds more trust than the composite alone. NN/G's ecommerce research notes that authentic customer imagery often does more for purchase confidence than a polished tool by itself, and a Shopify-focused guide on room preview widgets covers how to weave that user-generated content in alongside the composite.
Does the widget need to meet WCAG 2.2?
Yes. Any widget that accepts a user-uploaded image and generates a new composited image falls under the same accessibility obligations as the rest of your product page, and W3C's WCAG 2.2 guidance sets the testable bar you need to clear. Getting this wrong doesn't just risk a compliance complaint. It quietly excludes shoppers using screen readers or keyboard navigation from a feature you built specifically to build confidence.
- Provide a text alternative describing the composited output, since alt text can't be auto-generated meaningfully from a dynamic image and needs a sensible fallback string.
- Make every control (upload button, retry, close) operable by keyboard alone, with a visible focus indicator at each step.
- Follow W3C's images tutorial for labelling both the uploaded photo and the generated composite so assistive technology announces what's happening at each stage.
- Check colour contrast on buttons and instructional text against WCAG 2.2's minimum ratios.
- Test reflow at 400% zoom to confirm the upload flow doesn't break on smaller viewports.
On performance, lazy-load the widget's scripts so they don't block the initial page render, cache generated previews where the same product and room combination recurs, and composite client-side where your infrastructure allows it to cut server round trips. Nielsen Norman Group is blunt about the trade-off: a visualisation tool only earns its place if it's flawlessly executed, because a slow or buggy one damages the confidence it was meant to build. Watch Core Web Vitals, particularly CLS, LCP and TTFB, before and after launch, and run both an automated accessibility scan and a manual assistive-technology check before rolling past your pilot.
How do you measure whether the widget is working?
Track five numbers from day one of your pilot: preview rate (the share of product-page visitors who actually try the tool), preview-to-add-to-cart rate, overall conversion lift on the pilot product versus a control, change in the return rate for that SKU, and time spent on the page. Return rate is the slow-burning metric. Give it a full sales cycle before drawing conclusions, since furniture returns often surface weeks after purchase and delivery.
A/B testing is worth structuring deliberately rather than switching the widget on and hoping. Test the widget against a gallery-only control, test "See it in your room" wording against alternative labels, and test the composite shown alone against the composite paired with customer photos.
- Stage one: sandbox testing on a non-live product page
- Stage two: pilot on one or two hero SKUs using the free previews
- Stage three: expand to a category cohort once metrics hold up
- Stage four: full catalogue rollout with ongoing dashboard monitoring
Give each stage a genuine observation window, typically four to twelve weeks, before deciding to progress. A guide to marketing the widget once live covers turning pilot results into email and showroom promotion, and a product-page optimisation piece from Baby Love Growth is useful background reading on making sure the new feature doesn't quietly hurt page speed or SEO while it's proving itself.
How do you actually wire the widget into your storefront?
Implementation specifics vary by platform, but the shape of the work is consistent. On Shopify, you install the app, then drop a widget block into your product template through the theme editor, pointing it at the product's image field and SKU identifier. On Magento, BigCommerce and WooCommerce, the module handles the same job through a shortcode or template hook, typically requiring you to map your product's featured image and dimension attributes so the compositing engine has what it needs.
For a custom storefront, integration is a script embed plus an API call. The embed script initialises the widget against a container element on the page; your backend passes the product's image URL, an alpha-masked cutout if you have one, and its dimension data via a simple JSON payload. The widget handles the upload interface, sends the room photo and product reference to the compositing service, and returns a preview URL once processing finishes, usually within the 30-second target.

A minimal integration checklist for a developer looks like this: confirm your product images are accessible via a stable URL, pass the correct SKU and dimension metadata with the widget call, set your consent and retention flags in the initialisation config, and add an error state for when compositing fails or times out. Most platform integrations expose a sandbox mode specifically so you can test this flow against dummy products before it touches a live page. Testing this on one product first, using the universal demo, catches configuration mistakes before they reach a customer-facing page.
What actually decides whether this pays off?
Favour photo compositing for anything in your standard catalogue and save 3D or AR budget for genuinely configurable, high-ticket builds where shoppers are choosing finishes rather than just checking fit. That's the practical line, and most furniture retailers overthink it by assuming visualisation has to mean full 3D.
The bigger risk isn't the technology choice. It's launching the widget without pulling in merchandising, photography and customer service early, then missing the early signals in return-reason data and support tickets that tell you whether the feature is actually reducing "didn't suit my room" complaints. Watch those closely for the first full sales cycle, not just the launch week traffic spike.
— Michael
Start a risk-free trial with AI Furniture Solutions
If you've decided photo compositing is the right call, Aifurniture is built around exactly that approach rather than the app-and-3D-model route other tools take. The widget works from the product photos you already have, integrates with Shopify, Magento, BigCommerce, WooCommerce and custom storefronts, and skips the app download entirely, so shoppers see themselves in the room within about 30 seconds of uploading a photo.
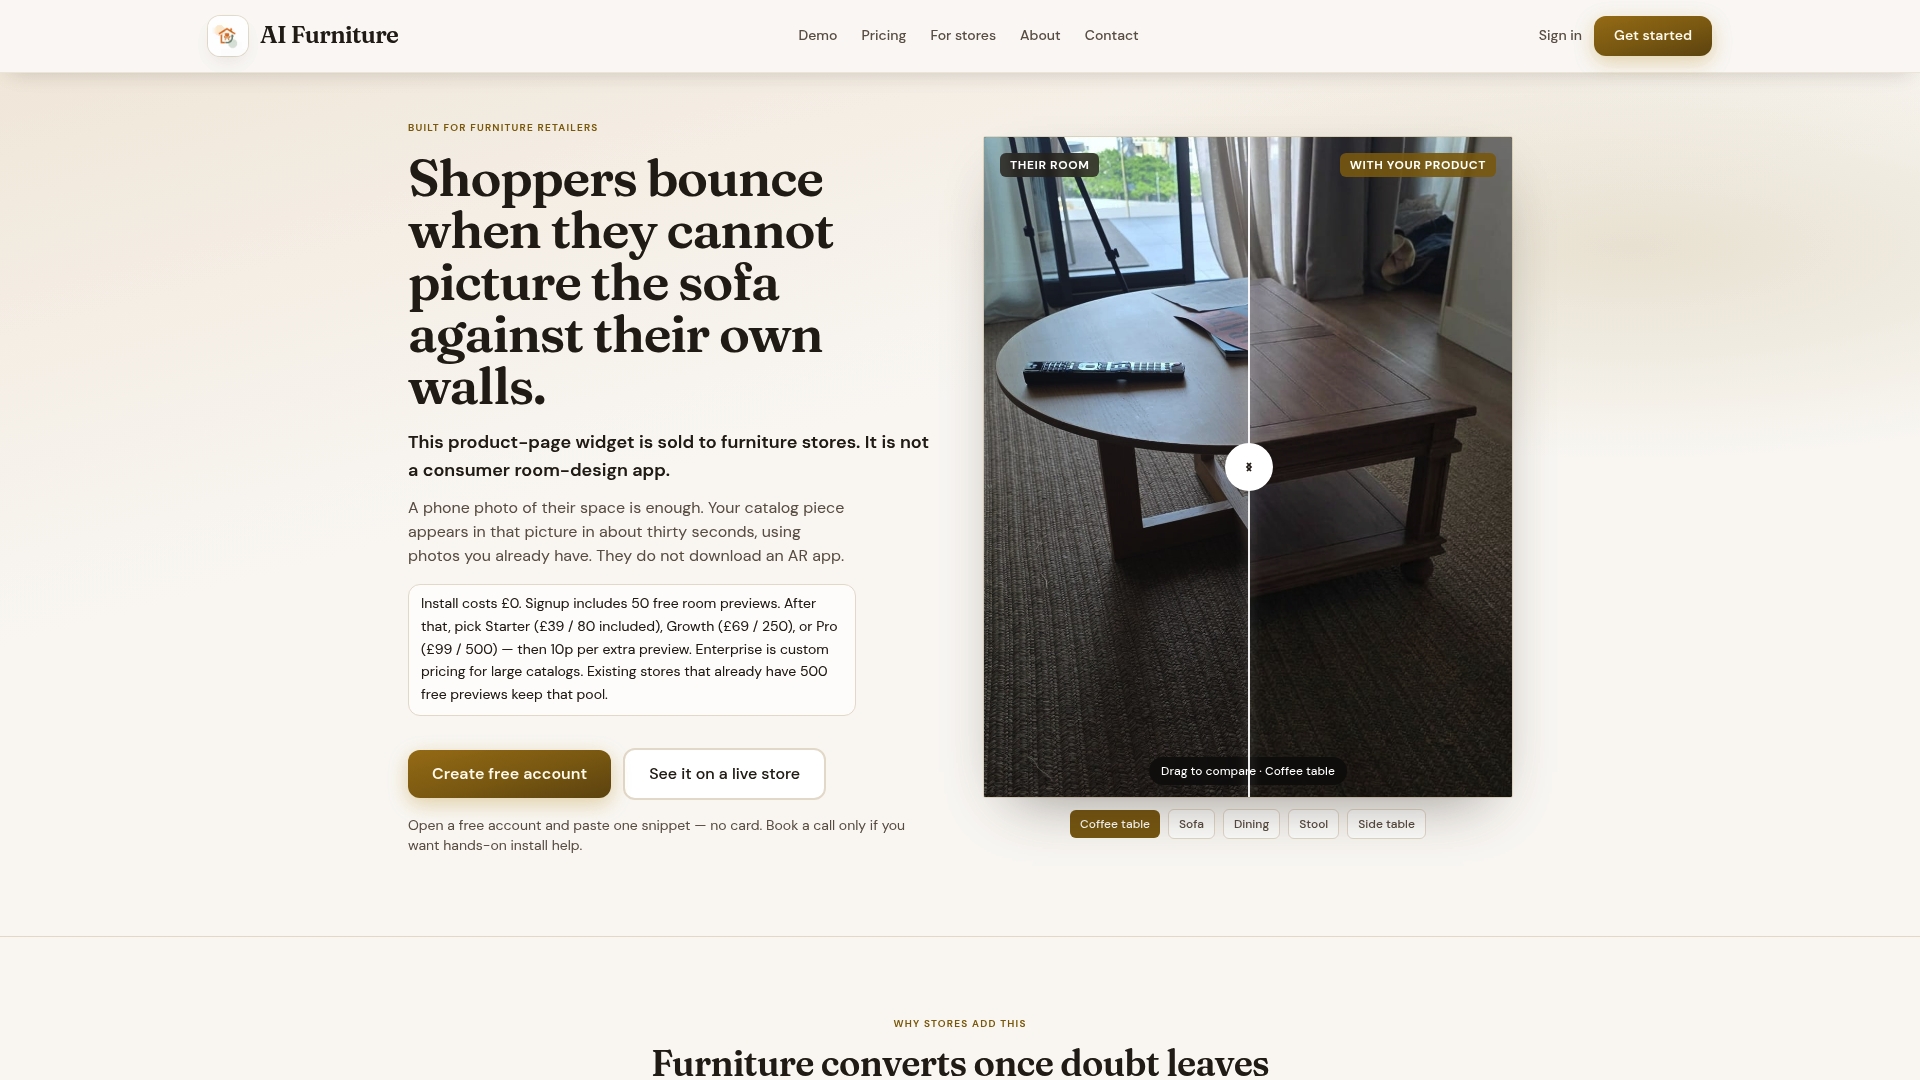
New accounts get 500 free previews to trial on a real product page before any billing kicks in, and pricing after that scales with usage rather than locking you into a flat monthly cost regardless of volume. You can compare the approach directly against 3D and photography-based alternatives on the comparison page, or go straight to current plans on the pricing page if you're ready to move past the pilot. For a hands-on walkthrough, book a setup call and get the widget running on one of your own listings this week.
Sources
- W3C Web Accessibility Initiative: Images tutorial
- Furniture UX: Deprioritize 'View in Room' – Baymard
FAQ
What is a photo-based room preview widget?
It's a product-page tool that composites a retailer's furniture image into a photo the shopper uploads of their own room, producing a realistic preview without any app download or 3D model. Aifurniture's version generates that composite in around 30 seconds.
How is this different from AR "view in room" features?
AR projects a 3D model into a live camera feed, usually through an app, while photo compositing works from a single uploaded photo and existing product images. Baymard's testing found 87% of shoppers avoided AR features when they weren't specifically prompted to try them, which favours the simpler photo route for most standard furniture ranges.
Does adding this widget slow down my product pages?
It can if implemented poorly, which is why lazy-loading the widget's assets and caching generated previews matters. Nielsen Norman Group notes that a visualisation tool only helps if it's executed cleanly, since a sluggish one undermines the confidence it's meant to build.
What does AI Furniture Solutions cost after the free trial?
Paid plans are available in multiple tiers; see current details on the pricing page. Extra previews beyond a plan's allowance incur additional fees.
Do I still need to show dimensions if I have a visualiser?
Yes. Baymard's 2026 furniture UX research found written dimensions appear on 49% of furniture product pages and dimension images on 42%, both ranking among the content types shoppers rely on most for fit confidence. A visualiser complements that information rather than replacing it.