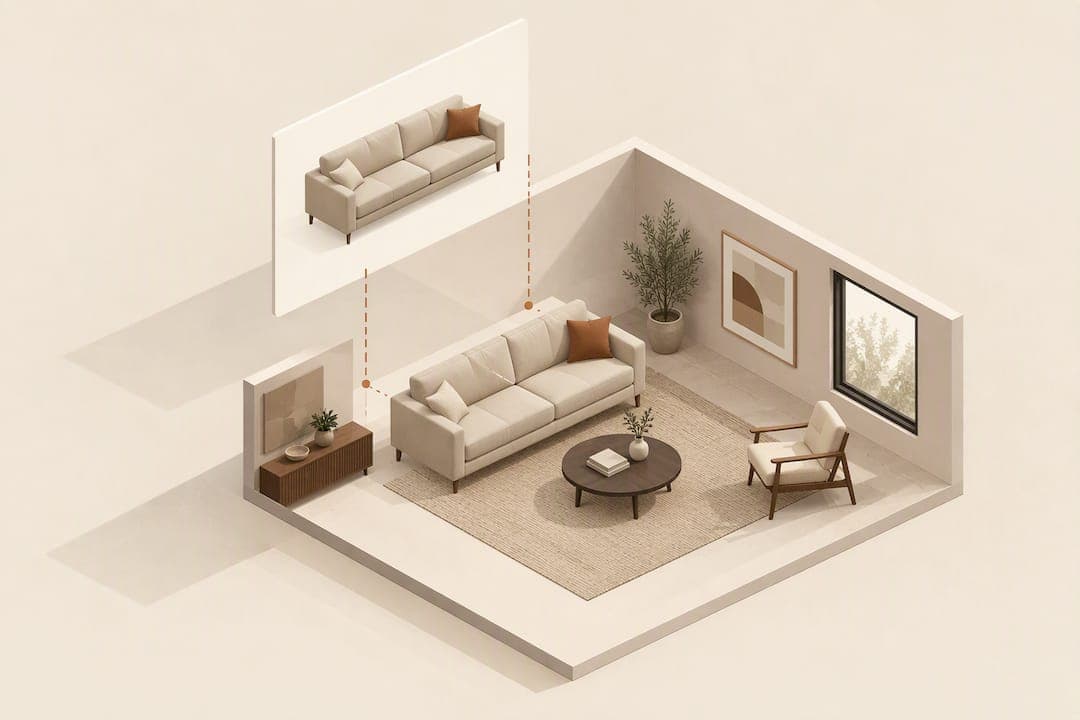
Photo compositing for furniture is an in-browser widget that places a retailer's product images into a shopper's uploaded room photo, with no app download and no 3D models required. It suits most retailers that want a fast, low-cost way to boost fit confidence: it launches faster than AR or 3D pipelines, reuses photos you already have, and tends to see higher shopper adoption. A free trial of 500 previews is a sensible way to test the approach before committing budget.
TL;DR:
- Photo compositing uses existing product JPEGs layered into user-uploaded room photos, avoiding the need for apps, 3D models, or complex workflows.
- Shopper behavior favors static images over AR features, with 87% avoiding AR "view in room" tools, making compositing a more accepted solution.
- Effective deployment involves embedding the feature into the image gallery, using consistent product photos, and keeping preview times under 30 seconds.
- Limitations include issues with scale, perspective, lighting, and catalog coverage, requiring careful photo standardization and realistic expectations.
- Key KPIs to measure success include preview engagement, conversion rates, and fit-related return rates, evaluated through controlled A/B testing.
Table of Contents
- What photo compositing means for furniture retailers
- Why retailers choose photo compositing: shopper behaviour, speed, and cost
- How to deploy a photo-compositing widget on your product pages
- Checklist: running a pilot across product, merchandising and engineering
- Which KPIs to track and how to test properly
- Common challenges and limitations of photo compositing
- Step-by-step implementation and vendor selection criteria
- Case studies and examples from furniture retailers
- Data privacy and image rights when shoppers upload photos
- Author's perspective: trade-offs worth weighing before you build
- AI Furniture Solutions: trial, integrations and next steps
- FAQ
- Sources
What photo compositing means for furniture retailers
Photo compositing, in this context, is the process of taking a retailer's existing product JPEGs and layering them realistically into a photo the shopper uploads of their own room. The compositing happens in the browser or on a server behind the product page, and the result is a static image the shopper can view, download or compare, generally within seconds.
This differs from augmented reality and 3D visualisation in a basic way: AR and 3D require a camera-ready app, a 3D model of the product, and a shopper willing to point a phone around their living room. Photo compositing skips all three. There's no app to install, no 3D asset pipeline to build, and no spatial scanning. It also differs from traditional staged photography, which shows the product in a generic, professionally lit vignette that may not resemble the shopper's own walls, lighting or floor.
Research into recontextualisation, the broader technique of placing a product image into a new background, is active. Work on diffusion models for product recontextualisation shows it's possible to relight a product, add occlusions or generate novel viewpoints with increasing realism, though the same research notes these systems can still hallucinate details that weren't in the original photos and tend to need more input images for reliable fidelity. For most retailers, the pragmatic version of this idea is a JPEG-based widget that handles compositing without asking merchandising teams to rebuild their photography workflow.
Why retailers choose photo compositing: shopper behaviour, speed, and cost
Shopper behaviour is the strongest argument for this approach. Around 87% of participants in large-scale usability testing largely avoid AR "view in room" features when shopping for furniture, relying instead on high-quality product images and customer photos to judge fit and finish. That's a hard number to ignore when deciding where to spend a visual commerce budget.
Fit confidence also depends on information retailers often underweight. In a 2026 study of furniture and home decor shopping behaviour, written dimensions and dimension images ranked among the most essential pieces of product page content, cited by 49% and 42% of shoppers respectively. A compositing widget works best alongside that information, not instead of it.
Three operational points follow from this:
- Compositing reuses the JPEGs a retailer already has, avoiding a 3D modelling backlog.
- It launches on existing product pages without a new app or SDK for shoppers to install.
- It pairs naturally with dimension data shoppers already say they rely on.
How to deploy a photo-compositing widget on your product pages
Placement matters as much as the technology. Guidance from Baymard's furniture UX research suggests embedding the feature inside the image gallery rather than as a separate tab or button, since shoppers already default to browsing images first and are more likely to discover a "see it in your room" option there.
A practical rollout generally follows this sequence:
- Audit your hero product images for consistent angle, lighting and background so the compositing engine has a clean subject to work with.
- Add the preview control inside the existing image gallery carousel, using the same interaction pattern shoppers already used to flip through photos.
- Let the shopper upload a room photo from their device, with no account creation required to try it.
- Return the composited result within roughly 30 seconds, matching the speed shoppers expect from a product page interaction rather than a batch process.
- Offer a simple save or share action so the shopper can compare the result against other products or send it to a partner.
Image quality drives fidelity. A single clean product photo is enough to start, though recontextualisation research notes that more input views improve realism when relighting or novel angles are involved. Retailers with a smaller image library will still get usable results, just with less flexibility on scene variation.
Integration should sit comfortably within existing platforms. Widgets built for Shopify, Magento, BigCommerce, WooCommerce and custom storefronts generally embed with a snippet or app install rather than a rebuild of the product template.
Pro Tip: Cap the uploaded room photo's file size on the client side before sending it to the compositing service; this keeps preview speed consistent and avoids timeout errors on older mobile connections.
Privacy deserves a plain mention here too: shoppers are uploading a photo of their own home, so a short, visible note on how that image is used and whether it's stored builds trust before they commit to trying the feature.
Checklist: running a pilot across product, merchandising and engineering
A pilot works best when it's scoped narrowly and measured honestly. Before launch, each team has a short list of jobs:
- Product: add or refresh written dimensions and dimension images on the pages selected for the pilot.
- Engineering: embed the widget in the gallery, set usage quotas, confirm CDN handling of uploaded images, and wire up basic analytics events.
- Merchandising: curate a clean hero image per SKU and prepare any finish or colourway variants the widget needs to switch between.
- Everyone: agree a pilot window of four to eight weeks with a fixed list of SKUs rather than a rolling catalogue.
The 500 free previews that come with most trials are enough to cover a focused pilot on a handful of bestsellers without a purchasing decision up front. Treat that allowance as the test budget, not a permanent limit, and decide on paid usage only once the pilot data is in.
Which KPIs to track and how to test properly
Four numbers matter most: how many shoppers open the preview, how many of those go on to add to cart, overall product conversion compared with a control group, and returns attributed to fit or sizing issues. Run the comparison as a standard A/B test, with the widget shown to one cohort and hidden from a matched control, over a window long enough to capture a full purchase cycle rather than a single week.
| KPI | What it tells you | Typical measurement point |
|---|---|---|
| Preview engagement rate | Share of PDP visitors who open the preview | Event logged on widget open |
| Preview to add-to-cart rate | Whether previewing moves shoppers closer to buying | Session-level funnel |
| Product conversion (test vs control) | Net effect on sales for pages with the widget | Full purchase cycle |
| Return rate attributed to fit | Whether previews reduce costly fit-related returns | Post-purchase, 30 days |
Treat results with some caution. Dimension images and customer photos influence the same fit-confidence decision the widget is targeting, so isolating the preview's individual contribution needs a clean control group rather than a before-and-after comparison on the same page.
Common challenges and limitations of photo compositing
No compositing tool solves every product page problem on its own. Scale and perspective mismatches are the most common complaint: a shopper's room photo taken at an odd angle can make even an accurate composite look slightly off, and heavily patterned or dark flooring can make it harder for the system to judge where the furniture should sit.
Lighting is a second limitation. A product photographed under studio lighting composited into a dimly lit room photo can look inserted rather than native to the scene, even when the proportions are correct. Research into recontextualisation acknowledges this directly: generative relighting techniques help, but they can also hallucinate details that weren't present in the source images, which is a risk worth watching for on complex finishes like glass, leather or glossy veneers.
There's also a catalogue coverage limit. A widget composites what it has, so SKUs without a clean product photo, or variants in finishes that haven't been photographed separately, won't preview accurately until that photography gap is closed. Retailers with large, inconsistent image libraries should expect to spend some time on photo standardisation before rolling the feature out catalogue-wide.
Finally, shopper expectations need managing. A composite is a helpful visual aid, not a guarantee of exact fit, and product pages should keep written dimensions and dimension images visible alongside the preview rather than letting the composite replace them, since Baymard's research shows shoppers lean on both to judge fit confidence.

Step-by-step implementation and vendor selection criteria
A sensible rollout starts narrow. Pick ten to twenty bestselling SKUs with clean, consistent product photography, confirm your platform (Shopify, Magento, BigCommerce, WooCommerce or a custom storefront) has a supported integration path, and set a pilot window before touching the wider catalogue.
Technical setup typically involves four steps: embedding the widget snippet in the product image gallery template, connecting it to your existing product image URLs rather than re-uploading assets, setting a preview quota appropriate to your trial allowance, and confirming analytics events fire correctly before the pilot goes live.

When comparing vendors, a few criteria matter more than feature lists. Check whether the tool works directly with your existing JPEGs or demands a separate 3D modelling step, since that single difference drives most of the cost and time gap between compositing and AR or 3D visualisation. Confirm preview speed under real conditions rather than a demo environment, check platform compatibility against your actual storefront, and look for transparent, usage-based pricing rather than a flat licence that assumes volume you may not hit in year one. A side-by-side comparison of compositing against photography, 3D and AR approaches is a useful reference point when building this shortlist.
Case studies and examples from furniture retailers
Large retailers have already shown the ambition behind this category. Wayfair's work piloting AI-driven visual discovery with Google Cloud illustrates how contextual imagery and generative tools are being tested at scale to help shoppers judge whether a product fits their space, well beyond a simple static photo.
Smaller and mid-sized retailers tend to approach this more narrowly, starting with a single product category, usually seating or storage, where fit and scale questions drive the most pre-purchase hesitation and the most returns. A compositing widget applied first to a retailer's bestselling sofas or sideboards, where sizing mistakes are expensive to reverse, tends to surface the clearest early signal on whether the feature is worth expanding.
The pattern across these examples is consistent: retailers that start small, measure the specific KPIs that matter for fit confidence, and expand only once the data supports it get a clearer read than those that roll a visual feature out catalogue-wide on day one.
Data privacy and image rights when shoppers upload photos
Every compositing flow depends on a shopper uploading a personal photo, usually of their own living room or bedroom, which raises two separate questions: what happens to that image, and who owns the rights to the result.
On storage, the safest default is to treat uploaded room photos as transient: process them for the preview, then delete them rather than retaining them indefinitely. If a retailer does want to retain images, for example to let a shopper revisit a saved preview later, that should be opt-in and disclosed plainly near the upload control, not buried in a general privacy policy.
On rights, the shopper's room photo remains theirs. The composited result, combining their photo with the retailer's product image, is best treated as a tool output for the shopper's own use rather than an asset the retailer reuses in marketing without separate permission. Retailers operating across multiple countries should also check that their upload flow meets the consent standards of each market they serve, since data protection rules vary by jurisdiction and a single global policy won't always cover every requirement.
A short, visible line near the upload button, explaining that the photo is used only to generate the preview and isn't shared or sold, does most of the trust-building work without needing a lengthy policy page.
Author's perspective: trade-offs worth weighing before you build
Photo compositing earns its place when speed to market and existing photo assets matter more than photorealistic spatial accuracy. If your catalogue is already shot cleanly, this is the faster win over AR or 3D for most retailers.
The mistakes I see most often are self-inflicted: retailers feed the widget inconsistent or poorly lit product photos, then wonder why composites look flat; others hide written dimensions behind a tab instead of keeping them next to the preview; and some bury the feature below the fold instead of inside the main image gallery where shoppers are already looking.
Keep the pilot small, owned jointly by product and merchandising, and resist the urge to launch it catalogue-wide before the first batch of results comes in.
— Michael
AI Furniture Solutions: trial, integrations and next steps
Our widget is built around practical constraints: retailers use the product photos they already have, shoppers never download anything, and a preview returns in around 30 seconds. That combination removes most of the setup overhead that comes with AR apps or 3D modelling pipelines, and it's why we offer 500 free previews to test the feature before any spend commitment.
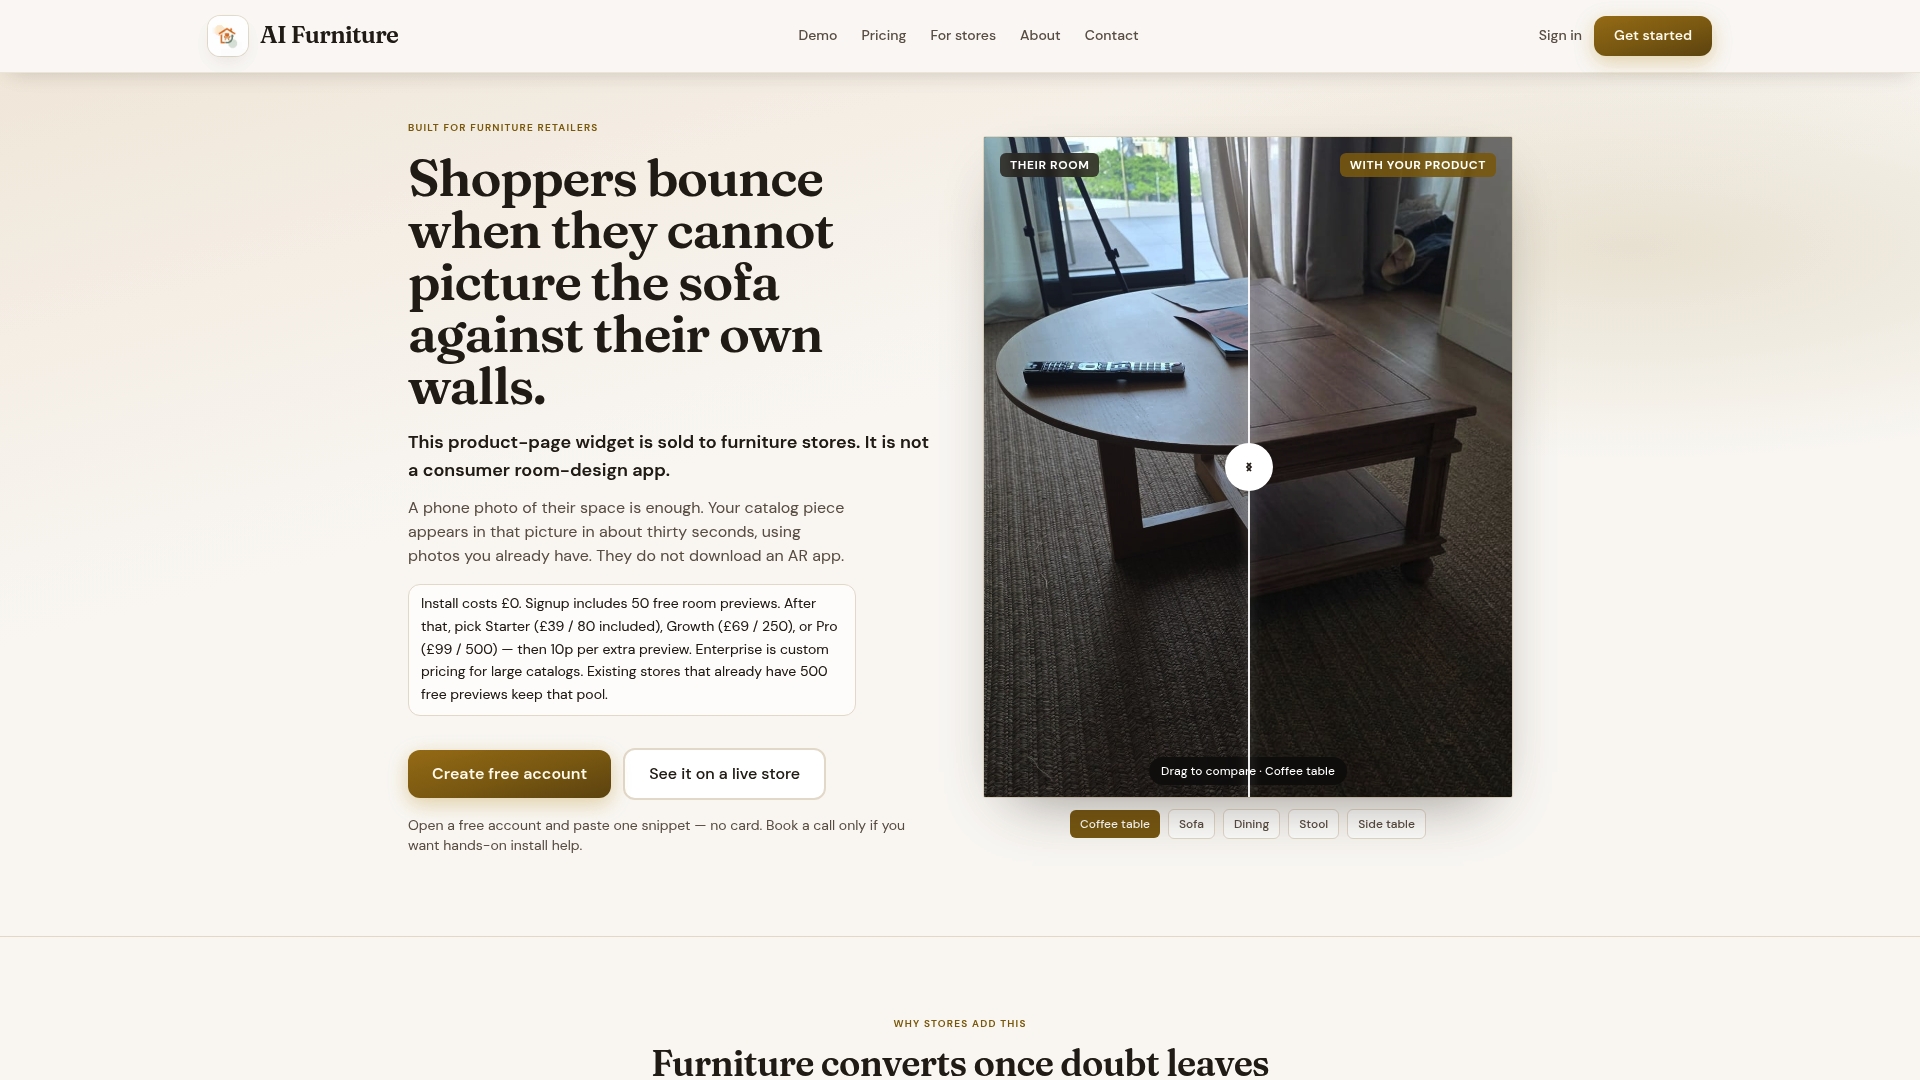
Here's what's included for retailers ready to try it:
- Integration support for popular e-commerce platforms and custom storefronts.
- A universal demo page where you can run the widget on your own product photos before building anything.
- Starter, Growth and Pro plans priced on monthly usage, starting at $52.56 a month, plus an Enterprise option for higher volume.
- A per-preview fee for usage beyond the plan allowance, with no setup fee.
If you'd rather see it running on a real product page first, our furniture visualiser page walks through exactly how the preview appears inside a gallery before you commit to a plan.
FAQ
Does photo compositing require an app download?
No. The entire flow runs in the browser: the shopper uploads a room photo, and the composited result appears on the same product page without installing anything.
How is this different from AR "view in room" tools?
AR tools typically need a camera-enabled app and a 3D model of the product, while compositing uses the retailer's existing JPEGs and a shopper's uploaded photo. Usability testing found that around 87% of shoppers largely avoid AR features for furniture, favouring static images instead.
What image quality do I need to get started?
A single clean, well-lit product photo is enough to begin, though recontextualisation research notes that more input views improve realism for relighting and unusual angles. Most retailers can start with the hero shot already used on their product page.
How much does a photo compositing widget cost?
Plans are usage-based, starting with Starter at $52.56 a month, rising through Growth and Pro, with Enterprise available for higher volume on request. A free trial of 500 previews lets you test the feature before committing to a paid plan.
Should I still show written dimensions if I add a preview widget?
Yes. Baymard's 2026 furniture study found written dimensions and dimension images rank among the most essential content for fit confidence, cited by 49% and 42% of shoppers respectively, so they should stay visible alongside any visual preview rather than being replaced by it.
Sources
- Furniture UX: Deprioritize 'View in Room' – Baymard
- Preserving product fidelity in large scale image recontextualization with diffusion models – arXiv